
Everything You Need to Breed and Raise Chickens
Breeding chickens is a practical and rewarding way to produce your own eggs, meat, and even generate extra income. Many chicken breeds are also in high demand among poultry enthusiasts. However, before starting, it is essential to check local laws, permits, and regulations related to poultry farming to avoid legal issues.
Once you are legally allowed to raise chickens, the next step is planning your breeding strategy. You need to decide whether your goal is egg production, meat production, or hatching chicks. You must also choose between natural incubation using a broody hen or artificial incubation using an incubator.
For feeding guidance, read our complete chicken feeding guide for layers and broilers.
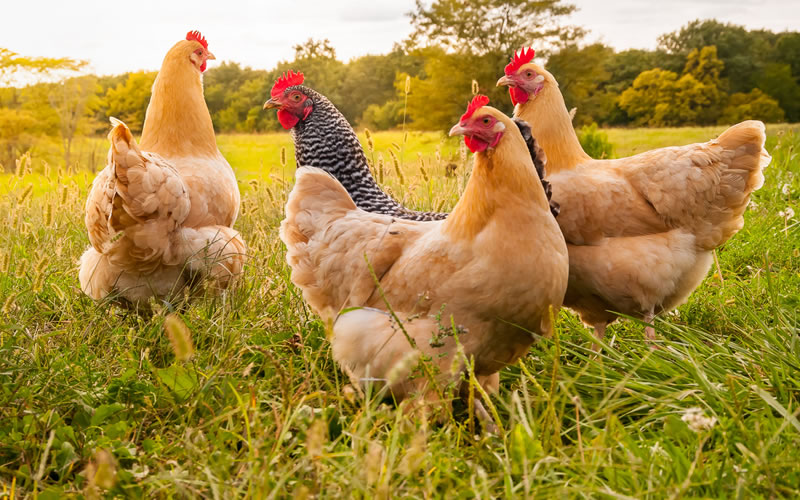
How to Choose the Right Chicken Breed
Choosing the right chicken breed depends on your purpose, climate, and management style. Chicken breeds are generally classified into pure breeds, hybrids, and crossbreeds. All types can produce eggs and hatch chicks under the right conditions.
If your focus is egg production, popular high-laying breeds include Rhode Island Red, Plymouth Rock, and White Leghorn. These breeds produce consistent and larger eggs compared to others.
Temperament is also important, especially for backyard poultry keepers. Friendly breeds such as Silkies, Sussex, Cochins, Faverolles, and Australorps are ideal for families with children.
Climate adaptation should not be ignored. Smaller breeds with larger combs tend to tolerate heat better, while larger breeds with smaller combs perform better in colder environments.
Do Chickens Breed All Year Round?
Yes, chickens can breed throughout the year. Female chickens may begin laying eggs as early as 16–18 weeks, although most start around 6 months of age. Once a rooster is present, fertilized eggs can be produced naturally.
Breeding activity is most common between February and May, when chickens are healthiest and most active. Eggs laid during this period are often incubated naturally or artificially, with chicks hatching about 21 days later.
To prevent inbreeding, roosters are often rotated or replaced after a few generations to maintain flock health and fertility.
How Chickens Reproduce
Chicken reproduction does not require human intervention. Once mating occurs, fertilized eggs are typically produced within 2 to 3 weeks. Hens can still lay eggs without a rooster, but those eggs will not hatch.
Roosters and hens usually mate quickly and discreetly, making it difficult to observe the process. After fertilization, eggs can either be incubated naturally or collected for artificial incubation.
How to Tell if an Egg is Fertile

The most common method of checking fertility is candling. After about 5 days of incubation, a bright light is used to observe the egg’s interior. Visible veins or embryo development indicate fertility.
Fertile eggs look similar to unfertilized ones in appearance, taste, and nutrition. If hatching is not desired, eggs can be safely refrigerated. Otherwise, they should be incubated or left under a broody hen.
How Long Does It Take for Chicken Eggs to Hatch?
Chicken eggs typically hatch after 21 days of incubation. Before incubation, eggs can be stored for up to 7 days at 55–60°F in a stable environment. Refrigeration should be avoided as it can damage embryo development.
Incubation can be done using a broody hen or an artificial incubator. Broody hens naturally sit on eggs for 21 days, maintaining heat and humidity required for development.
Using a Chicken Egg Incubator
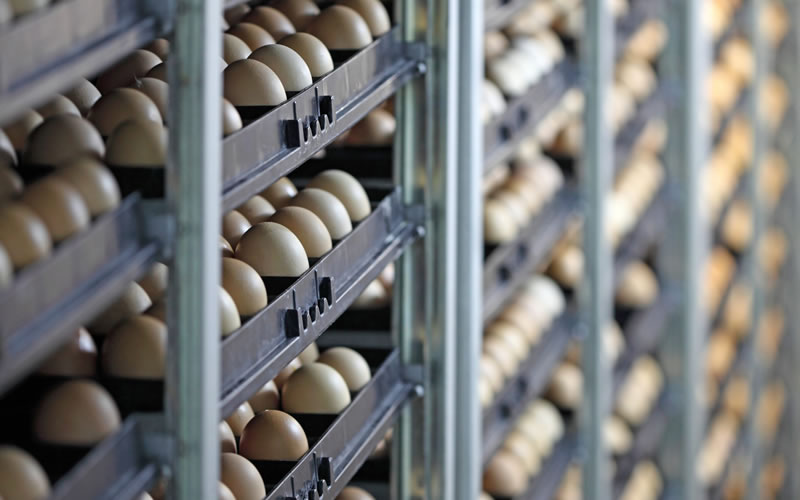
An incubator is an enclosed device that regulates temperature, humidity, and egg turning. Fertile eggs have the highest success rate when incubation begins within one week of being laid.
Step 1: Setting Up the Incubator
Run the incubator for at least 24 hours before adding eggs to stabilize temperature and humidity. Ideal humidity is 25–60% during the first 17 days and 70–80% during the final 3 days.
Step 2: Turning the Eggs
Eggs must be turned at least every 8 hours to prevent embryo sticking and deformities. This process should continue until day 17, after which turning must stop.
Step 3: Candling and Monitoring
Eggs should be candled on days 7 and 14 to remove non-developing eggs and prevent contamination inside the incubator.
Step 4: Final 3 Days
During days 18–21, stop turning eggs and avoid opening the incubator. Increase humidity and maintain a stable temperature around 100.5°F.
Step 5: Hatching Day
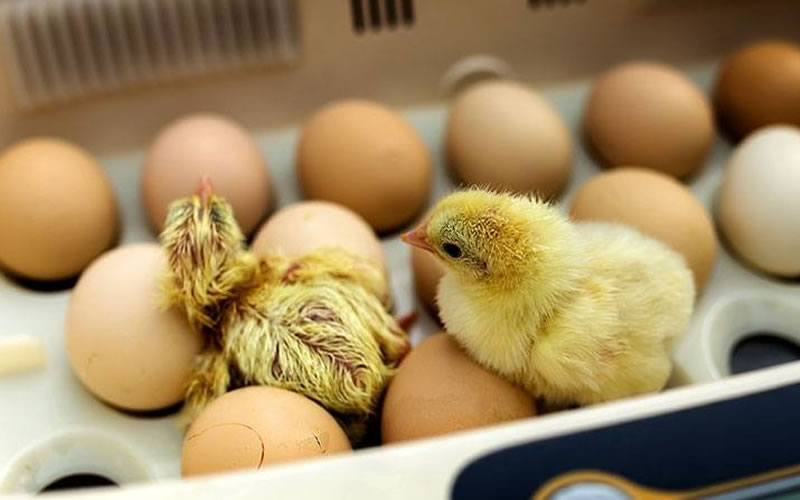
On day 21, chicks begin pipping and hatching. This process can take several hours. Do not assist chicks or open the incubator, as this can disrupt humidity levels and harm unhatched eggs.
Once chicks are dry, they should be moved to a brooder with a temperature of 90–95°F for proper growth and development.
Conclusion
Successful chicken breeding depends on proper knowledge of incubation, breed selection, and chick care. Temperature and humidity control are the most critical factors during incubation and brooding stages.
By following proper breeding and incubation practices, you can ensure healthy chicks, improved survival rates, and a productive poultry system.