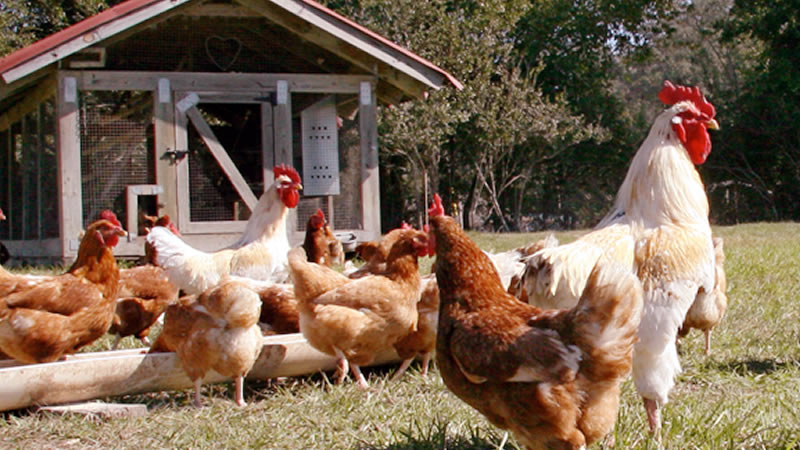
Chicken dust baths are an essential part of backyard chicken care. If you are raising chickens at home, providing a proper dust bathing area is not optional—it is a fundamental requirement for their health, hygiene, and behavior. The good news is that building a chicken dust bath is simple, inexpensive, and highly beneficial.
In this complete guide, you will learn everything about chicken dust baths, including how they work, their health benefits, how to build one, ideal materials, common mistakes, and maintenance tips.
Table of Contents
- What is a Chicken Dust Bath?
- Benefits of a Chicken Dust Bath
- How Chickens Dust Bathe
- What You Need to Make a Chicken Dust Bath
- Best Location for a Chicken Dust Bath
- How Big Should a Chicken Dust Bath Be?
- How to Maintain a Chicken Dust Bath
- Chicken Dust Bath in Winter
- Common Chicken Dust Bath Problems and Solutions
- Can Baby Chicks Use a Dust Bath?
- Conclusion
What is a Chicken Dust Bath?
A chicken dust bath is a natural cleaning behavior where chickens roll, dig, and cover themselves in dry soil, sand, or dust. Instead of using water like humans, chickens use fine particles to remove dirt, excess oil, and parasites from their feathers and skin.
Although it may look like they are getting dirty, dust bathing is actually how chickens stay clean. It is also a natural defense system against external parasites such as mites, lice, and fleas. In addition, dust bathing is a social and stress-relieving activity that promotes overall flock well-being.
Without a proper dust bath area, chickens may attempt to use unsuitable materials such as feed or damp soil, which can negatively affect their health and increase parasite risks.
Benefits of a Chicken Dust Bath
Dust bathing plays a critical role in maintaining chicken health and productivity. Key benefits include:
- Natural control of external parasites (lice, mites, fleas)
- Removal of excess oil and dead skin cells
- Improved feather condition and molting support
- Reduced stress and boredom in the flock
- Better overall hygiene without water
- Improved comfort and thermoregulation
Regular dust bathing also supports better immune function and can indirectly improve egg production and egg quality in laying hens.
How Chickens Dust Bathe
Chicken dust bathing happens in two main stages: digging and rubbing.
1. Digging Stage: Chickens scratch the ground, loosen soil, and create a shallow pit. They then lie in it and toss dust over their bodies using their wings and legs.
2. Rubbing Stage: They roll, shake, and press the dust into their feathers to absorb oil and suffocate parasites.
A typical dust bath session lasts 10–20 minutes. Chickens often dust bathe in groups and may return to the same spot repeatedly, especially in sunny areas.
What You Need to Make a Chicken Dust Bath
A good dust bath requires the right combination of materials. The base should be dry, fine, and safe for chickens.
Recommended Base Materials
- Medium-grain sand (construction sand)
- Dry soil (loose and non-clay)
- Pea gravel (for drainage support)
Optional Additives for Better Results
Wood Ash (Charcoal)
Wood ash helps repel parasites and absorbs moisture. It may also provide trace minerals such as calcium and magnesium.
Peat Moss
Peat moss improves texture and softness but should be used in moderation to avoid excessive dust exposure.
Diatomaceous Earth (Food Grade)
Food-grade DE helps control parasites by damaging their outer layer. Use sparingly to avoid respiratory irritation.
Dried Herbs
Herbs provide natural insect-repelling properties and enrichment benefits. Examples include oregano, rosemary, lavender, mint, and thyme.
Best Location for a Chicken Dust Bath
Choose a dry, sunny, and well-drained location that is easily accessible for your flock. Avoid wet, muddy, or high-traffic areas.
Ideal placement tips:
- Sunny but partially shaded area
- Protected from rain and flooding
- Away from feed and water stations
- Visible for easy monitoring
How Big Should a Chicken Dust Bath Be?
Space is important for comfort and flock harmony.
- Minimum depth: 6 inches (bantams), 8 inches (standard chickens)
- Recommended space: 1 square foot per chicken
Popular container options include tubs, sandboxes, wooden boxes, kiddie pools, tires, and shallow bins.
How to Maintain a Chicken Dust Bath
Regular maintenance ensures hygiene and effectiveness.
- Remove droppings and feathers regularly
- Replace damp or compacted material
- Refill sand and additives as needed
- Keep the area dry and covered when necessary
Chicken Dust Bath in Winter
During cold seasons, dust baths can be moved indoors or partially covered. Ensure the material stays dry and protected from moisture.
Indoor dust baths should have higher sides to prevent scattering and maintain cleanliness inside the coop.
Common Chicken Dust Bath Problems and Solutions
- Clay soil: Add sand to improve texture and loosen density
- Wet conditions: Relocate or cover the dust bath
- Dust scattering: Use deeper containers or raised edges
- Poor usage: Place in sunny, visible areas to encourage use
Can Baby Chicks Use a Dust Bath?
Yes. Baby chicks naturally begin dust bathing within their first weeks. Provide a shallow, safe, and fine-textured area suitable for their size, ensuring easy expansion as they grow.
Conclusion
A chicken dust bath is essential for flock health, parasite control, and natural behavior expression. It is easy to build, cost-effective, and highly beneficial when designed correctly.
By providing the right materials, location, and maintenance, you can significantly improve your chickens’ comfort, hygiene, and overall well-being.